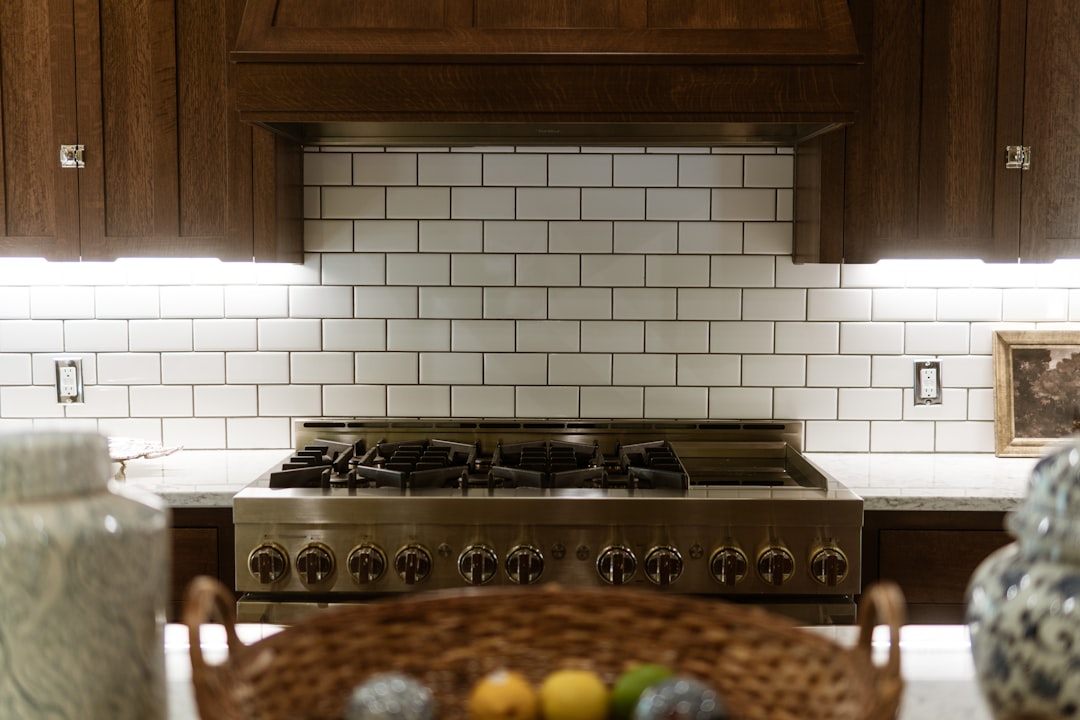
A dated kitchen backsplash can make the whole room feel tired — even when everything else is clean and functional. The good news? You don't need a contractor or a renovation budget to fix it. Kitchen backsplash ideas on a budget have come a long way, and some of the most convincing transformations cost under $100. Peel-and-stick tiles, beadboard panels, and painted finishes are all genuinely renter-friendly options that hold up surprisingly well in real kitchens. This guide walks through each approach honestly — what works, what to watch for, and how to make it look intentional.
Before You Start Planning
Jumping straight into tile shopping is tempting, but a few minutes of prep work will save you a lot of frustration later. Start by measuring your backsplash area carefully — width times height, minus any outlets or windows. Most peel-and-stick tile sheets are sold by the square foot, so having an accurate number prevents both shortages and waste.
Next, assess your wall surface. Peel-and-stick products adhere best to smooth, clean, non-porous surfaces. If your walls have old grease buildup, texture, or existing tile with deep grout lines, you may need to prime or skim-coat before applying anything new. Skipping this step is the most common reason DIY backsplashes start peeling within weeks.
- Clean walls thoroughly with a degreaser and let them dry for at least 24 hours
- Check for moisture issues near the sink — fix any before installing
- Decide on your pattern and layout before opening a single package
- Order approximately 10–15% extra material to account for cuts and mistakes
Oddly enough, the planning phase is where most budget projects go wrong — not the installation itself.
Affordable Backsplash Materials
This is where the real decision happens. Each material has a distinct look, a different skill level requirement, and a different price point. None of them require permanent installation — which matters enormously if you're renting.
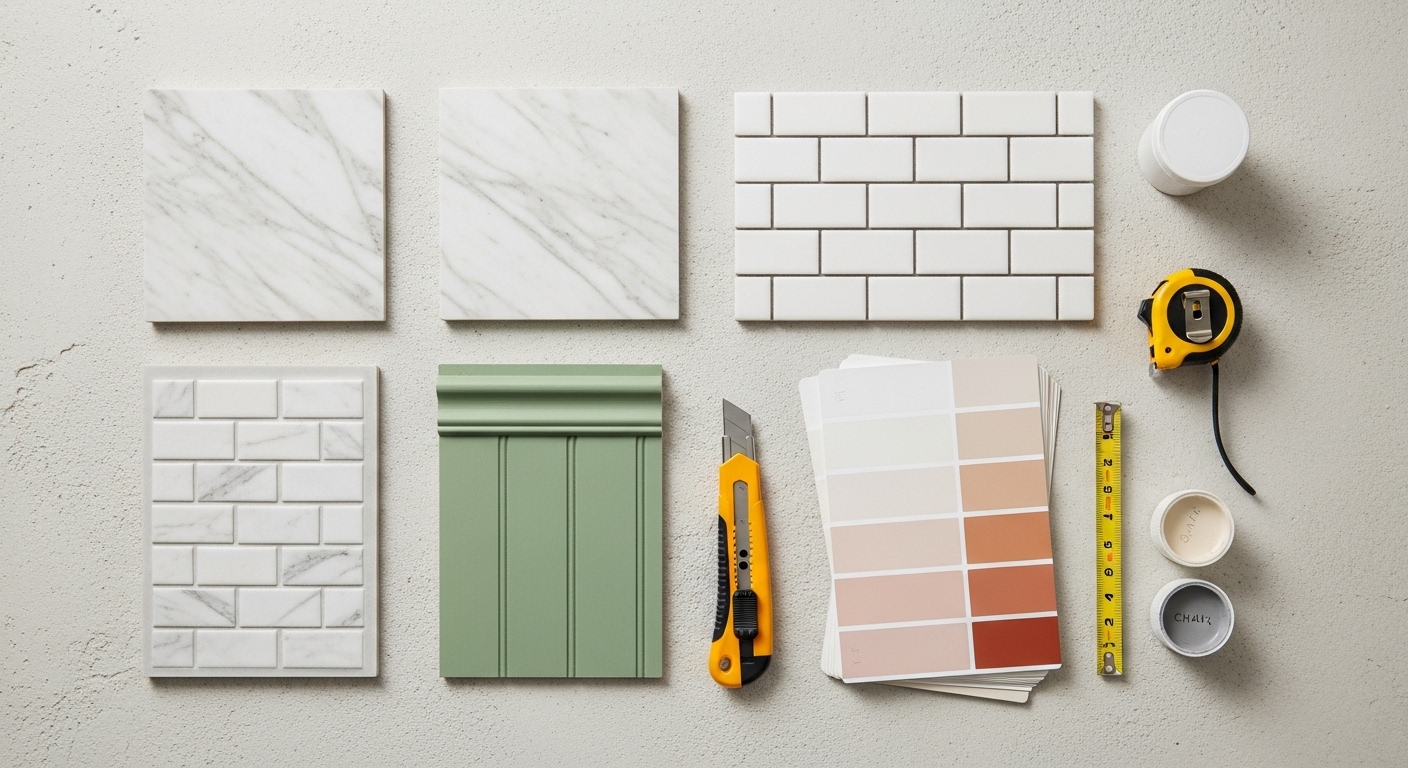
Peel-and-stick tiles are the most popular choice right now, and for good reason. Modern versions mimic ceramic, marble, and even handmade zellige tiles with impressive realism. Prices vary widely — budget options start at approximately $1–$2 per tile, while premium vinyl sheets can run $5–$8 each. The key difference is usually thickness and texture quality.
Beadboard panels give a cottage or farmhouse feel and are incredibly easy to cut with a utility knife or jigsaw. A 4x8 foot panel costs approximately $20–$35 at most home improvement stores. Paint it any color you want, seal the edges with caulk, and it looks completely intentional.
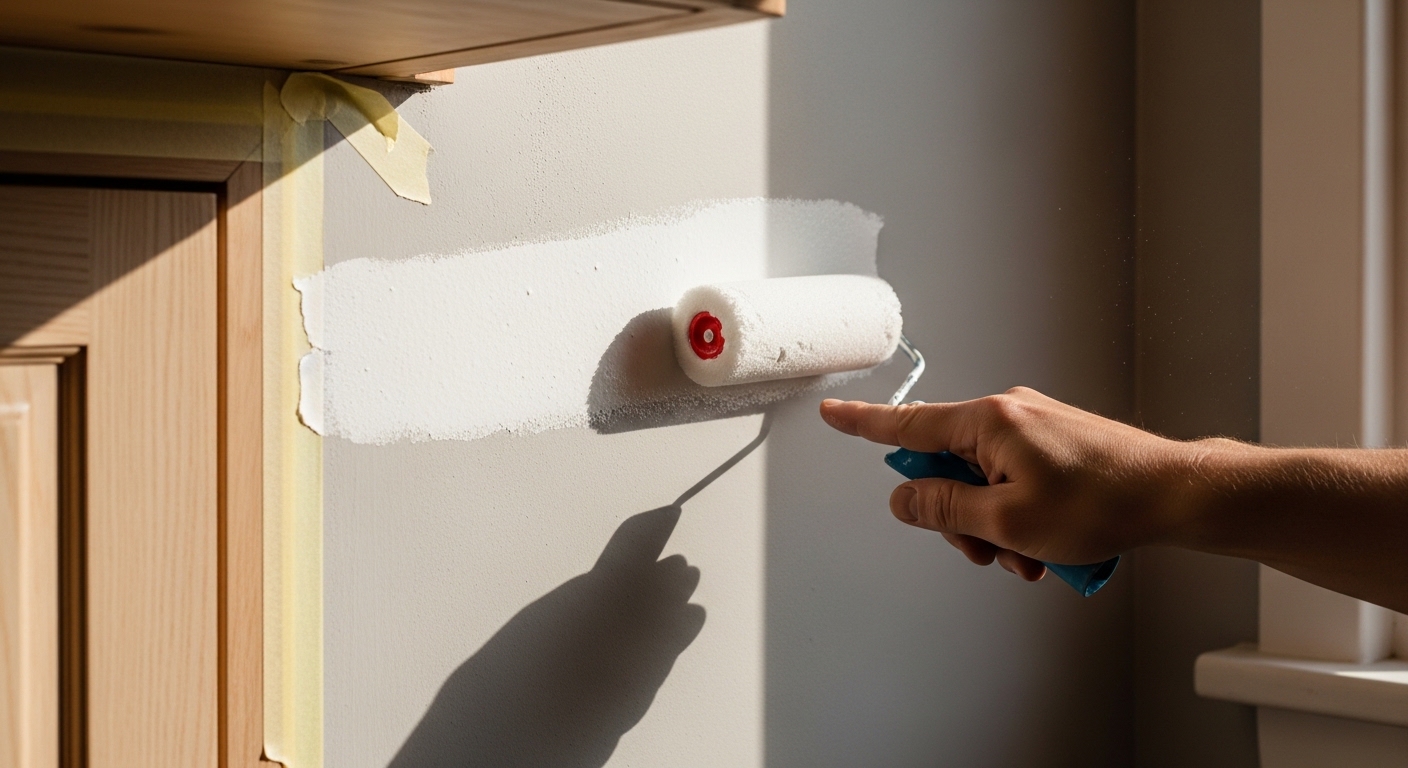
Painted backsplashes — using chalk paint, limewash, or even stenciled patterns — are the most budget-friendly route. A quart of quality paint costs approximately $15–$25 and can cover a standard backsplash area twice over.
- Peel-and-stick tiles: Approximately $30–$80 for a standard backsplash area, easy removal, great variety
- Beadboard panels: Approximately $20–$60 depending on size, paintable, classic look
- Limewash or chalk paint: Approximately $15–$30, most budget-friendly, requires sealing near the sink
- Peel-and-stick wallpaper: Approximately $25–$50, works well in low-moisture zones away from the stove
DIY Decor Ideas
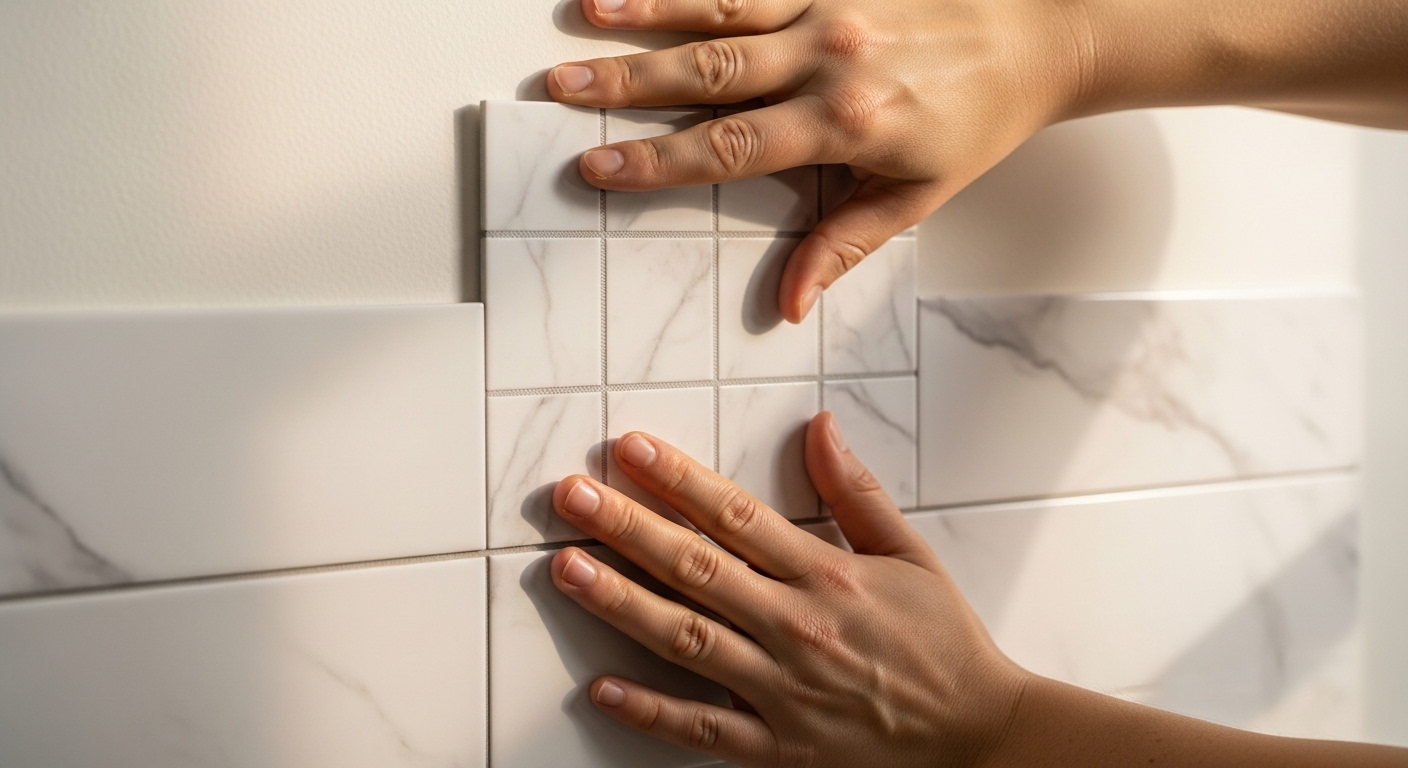
Installation is more forgiving than most people expect — especially with peel-and-stick formats. Start from the center of your backsplash and work outward, pressing firmly as you go. Use a credit card or squeegee to push out air bubbles. For corners and outlets, a sharp craft knife handles most cuts cleanly.
For a stenciled paint backsplash, tape your stencil flat against the wall and use a dense foam roller with minimal paint to avoid bleeding. Two thin coats always look better than one heavy one. A Moroccan tile stencil in terracotta over a cream base can look genuinely stunning — and costs almost nothing.
Beadboard installation is slightly more involved but still very manageable. Cut panels to size, apply construction adhesive (or use removable mounting strips for renters), and press firmly into place. Fill any seams with paintable caulk, sand lightly once dry, then paint. The whole process takes an afternoon.
"The most successful DIY backsplashes aren't the most complicated ones — they're the ones where the material choice suits the wall, the light, and the lifestyle of the person cooking there."
Small apartments usually need fewer pattern variations than you think. A single clean tile style, well-applied, reads as intentional design rather than budget compromise.
Lighting & Ambience
Backsplash materials don't exist in isolation — the way light hits them changes everything. A glossy subway tile in a north-facing kitchen can look cold and flat. The same tile in a south-facing kitchen with afternoon sun becomes warm and reflective in the best way.
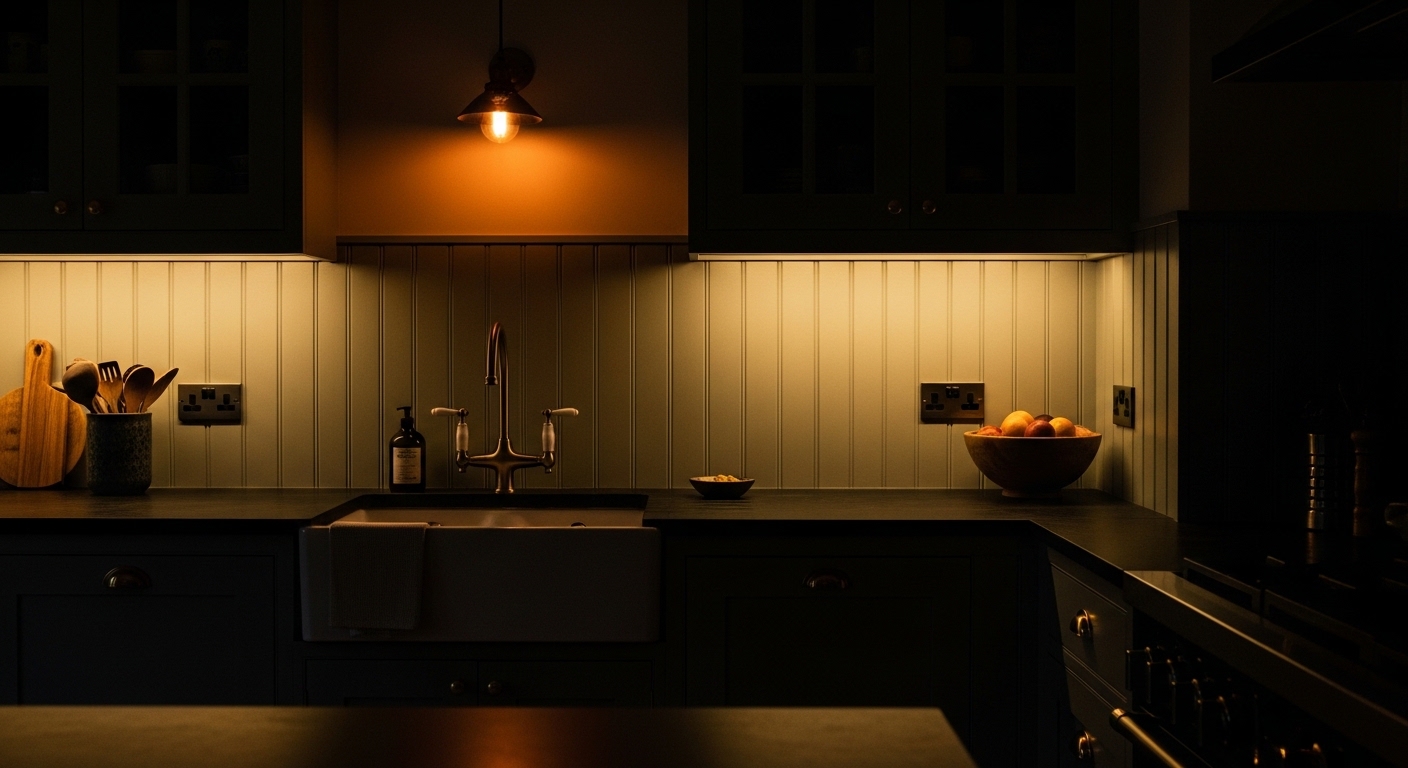
If your kitchen lacks natural light, under-cabinet LED strips make an enormous difference. They're inexpensive (approximately $20–$40 for a standard run), easy to install without an electrician for plug-in versions, and they throw light directly onto the backsplash surface — which is exactly where you want it. For electrical installation, always consult a licensed professional.
Matte finishes on tiles or paint absorb light and create a softer, more textured feel. Glossy finishes bounce light around and make smaller kitchens feel more open. Neither is objectively better — it depends on your kitchen's natural light situation and the mood you're going for.
Where to Save vs Splurge
Budget projects live and die by prioritization. Spend on the things that are most visible and most touched — and cut corners on what no one will notice.
Save on: the tile or panel material itself (budget peel-and-stick options have improved dramatically), painter's tape, basic tools you'll reuse, and paint for beadboard.
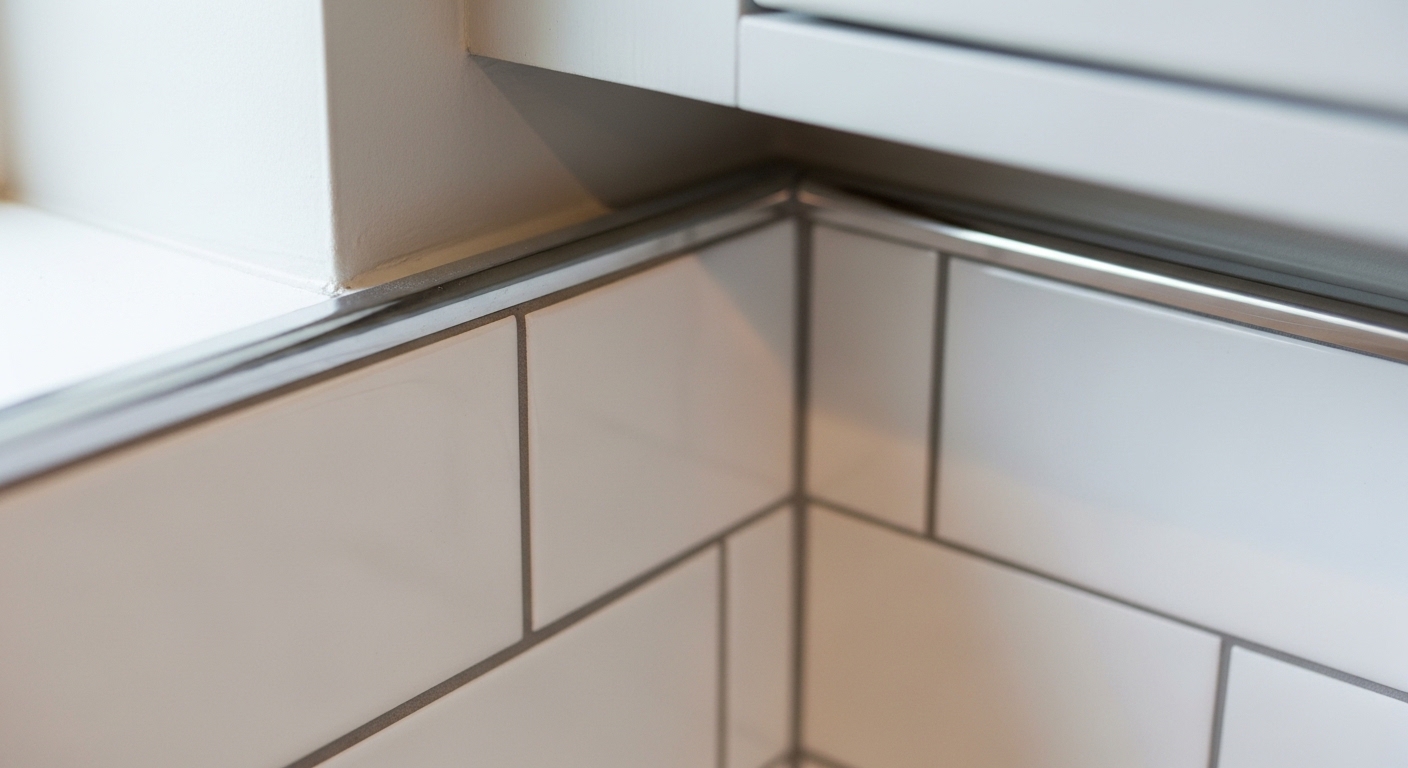
Splurge on: a quality sealer if you're painting near the stove or sink, proper edge trim pieces that make the installation look finished, and a good degreaser for wall prep. Skimping on prep and finishing details is what makes DIY backsplashes look DIY.
- Edge trim strips: approximately $8–$15, makes the border look professional
- Tile sealer or grout pen: approximately $10–$20, refreshes grout lines and protects peel-and-stick edges
- Removable adhesive strips: approximately $12–$18, essential for renters avoiding damage
At first, it might feel like these small additions are unnecessary. They're not. The finishing details are what separate a polished result from something that looks temporary.
Final Styling Checklist
Once the backsplash is in, resist the urge to fill every inch of counter space. A freshly updated backsplash deserves some breathing room to actually be seen.
- Wipe down the entire surface once more and check for any lifted tile edges
- Seal any gaps at the counter edge with clear or color-matched caulk
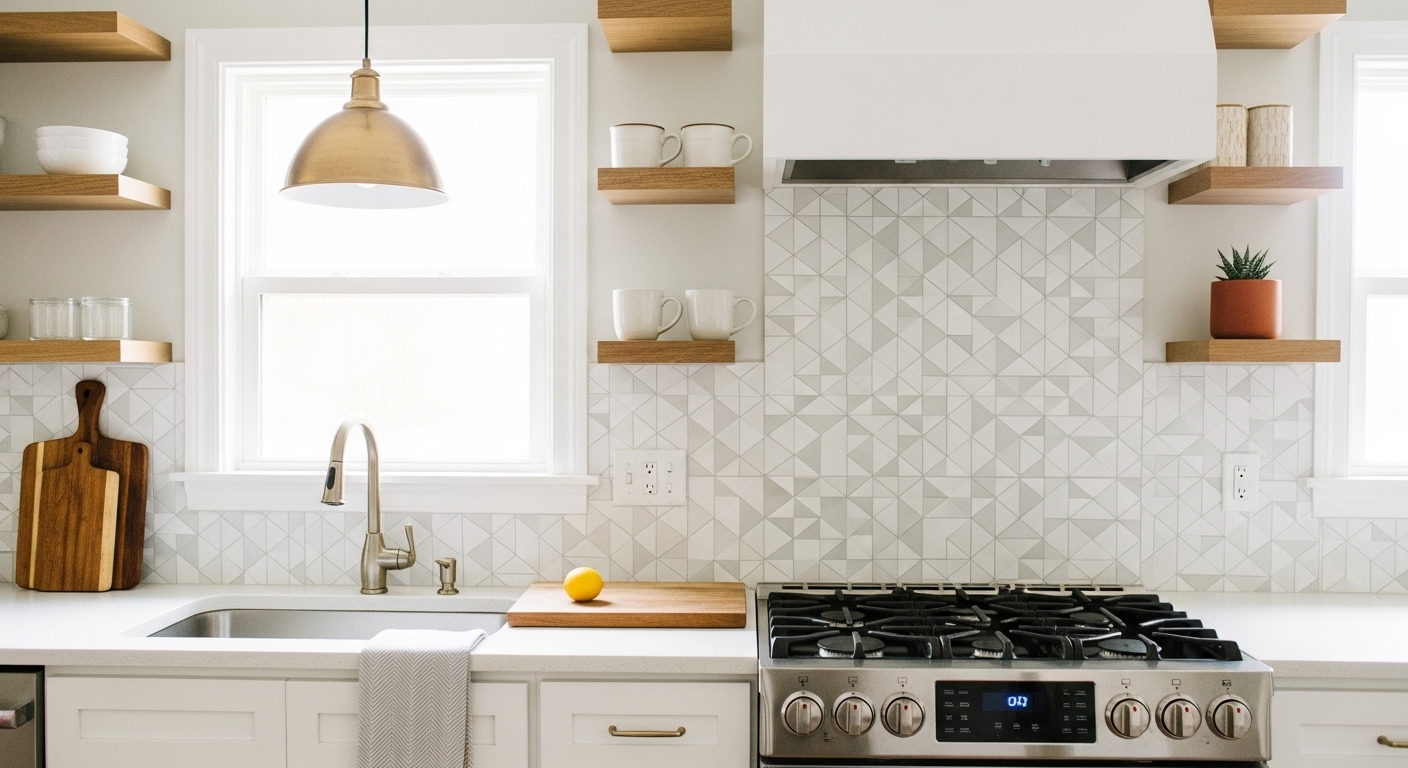
- Style open shelves with 3–5 intentional objects — ceramics, a plant, a cookbook
- Swap out any mismatched hardware if budget allows (approximately $3–$8 per knob)
- Add a small herb pot or trailing plant near the window to soften the space
- Step back and check the overall balance — sometimes removing one item improves everything
Removing one cluttered item from the counter after finishing the backsplash is almost always the right call. The new surface needs space to read as a design choice, not just a backdrop.
Closing
A backsplash update is one of the few DIY projects that genuinely changes how a kitchen feels — not just how it looks. The right material, applied carefully, can make a rental kitchen feel like a considered space rather than a temporary one. Start with your wall prep, pick a material that suits your light and lifestyle, and don't underestimate the finishing details. The whole project can be done over a weekend, and the result tends to be one of those changes that makes you wonder why you waited so long.
Comments
Post a Comment